Free UI/UX design course
Learn how to create exceptional designs by reading my new tutorial.
Start learningMDB CLI
Installation via MDB CLI is the most efficient way to use MDB. It enables options such as:
- Free hosting (supports custom domains, SSL, FTP access)
-
Install any MDB package
with a single command


- Easy updates with a single command
- Backend starter templates (Laravel, plain PHP, node.js & more)
- WordPress setup in 3 minutes (blog, ecommerce or blank project)
- Git repository for you and your team
Step 1 - install Node.js
To run MDB command line (a.k.a. MDB CLI) on your computer you need Node.js.
To install it go to the https://nodejs.org/ and click the button to download it.
You will see 2 buttons there - LTS on the left, and Current on the right. It does not really matter what version do you chose, but just to simply not to overthink it choose the version on the right ("Current").

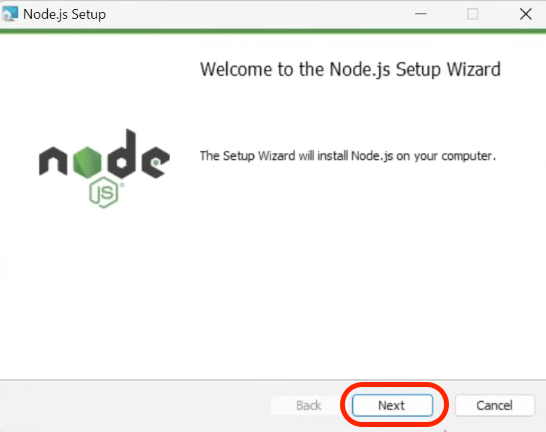
Once downloaded, run the file, accept the terms and just click "Next" until the installation is complete.

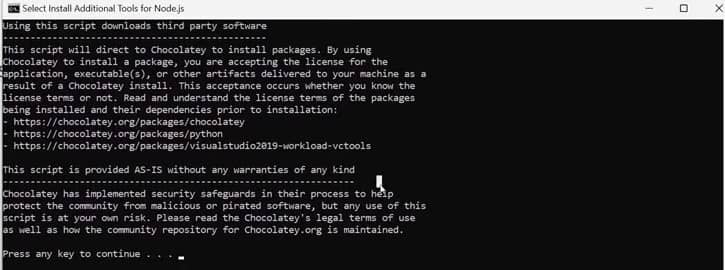
After the installation is complete, you can see the terminal window as in the screenshot below. Click any button to proceed.

Now let's check if the installation was successful. Launch the terminal (if you are using Windows, type "cmd" in the system search and run Command Line app / on MacOS, search for the "terminal" application).
Then type node -v in the terminal and click enter. You should see the version of the installed node.js software like on the screen below.

Step 2 - create MDB account
To use MDB CLI you need an MDB account. You can create them for free at this link.
It is best if you register using your email address. This will make it easier for you to use your account in the terminal afterwards.
Fill out the form, register and confirm your email address.
Step 3 - install MDB CLI
MDB CLI is a tool that will allow you to manage your projects and publish them to the Internet using a terminal on your computer.
Launch a terminal and enter the following command. Then confirm it by clicking enter.
Enter the mdb -v command in the terminal to check if the MDB CLI was installed correctly. If, like in the screenshot below, you see the version number (remember that it may differ) then everything is fine.

Step 4 - log in to the MDB account in the terminal
To log in to MDB CLI, in the terminal type the mdb login command and press enter.
Then enter your username and password that you set when registering your MDB account.

Step 5 - download MDB package via CLI
In the terminal, navigate to the location on your computer where you want to place the MDB package.
For example, I want to download an MDB package to my desktop.
To go to the selected path in the terminal, type the cd command and then type the path you want to go to.
Then type mdb init command and click the down arrow and select "Standard" option.
Click enter and the MDB Standard package will be downloaded to the path you chose in the terminal.

The latest MDB package has been downloaded to your computer and you didn't even have to go to any website and struggle with looking for the right files to download!
This is just the beginning of the potential of the MDB CLI, but we'll explore more advanced features in future lessons.
I recommend you to rename the folder with the downloaded MDB package.
The original name of the downloaded package may looks something like:
MDB5-STANDARD-UI-KIT-Free-6.0.0 or mdb5-free-standard
Change it to something simpler, such as:
mdb-uikit-tutorial

About author
Michal Szymanski
Co Founder at MDBootstrap / Listed in Forbes „30 under 30" / Open-source enthusiast / Dancer, nerd & book lover.
Author of hundreds of articles on programming, business, marketing and productivity. In the past, an educator working with troubled youth in orphanages and correctional facilities.
