Free UI/UX design course
Learn how to create exceptional designs by reading my new tutorial.
Start learningDownload, installation and setup
I will show you 2 methods to install MDB:
- .zip downlad - the easiest and fastest method, but with some limitations
- MDB CLI installation - a recommended method that allows you to use the full potential of the MDB environment
I suggest you try both methods, but in the end it's best if you use MDB CLI.
.zip download
Step 1 - download and setup
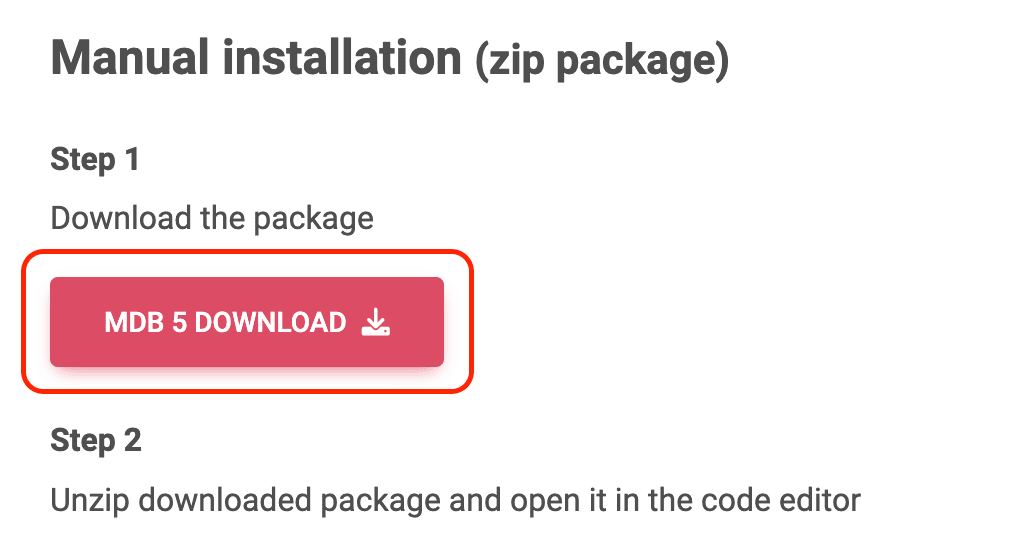
Go to the installation page and click the big, red button "MDB 5 download".

Then unzip the downloaded package and open it in your favorite code editor.
Note: The code editor is a matter of preference, but if someone asks me what I would recommend, my answer is Visual Studio Code.
It's free and you can download it here.
Step 2 - open index.html file
In the unpacked MDBootstrap directory, locate the index.html file, then drag and drop it into the browser window. You will see the MDBootstrap welcome message.

Then open index.html in the code editor. You will see a code like this:
That's quite a lot of code, and it can feel a bit overwhelming to start with. But don't worry, it's actually very simple and if you want to learn what exactly every line of this code does we have already explained it in the previous tutorial.
If everything works for you according to plan, it's time for a slightly bigger challenge. Click "next" and let's look at installation via MDB CLI.

About author
Michal Szymanski
Co Founder at MDBootstrap / Listed in Forbes „30 under 30" / Open-source enthusiast / Dancer, nerd & book lover.
Author of hundreds of articles on programming, business, marketing and productivity. In the past, an educator working with troubled youth in orphanages and correctional facilities.
